
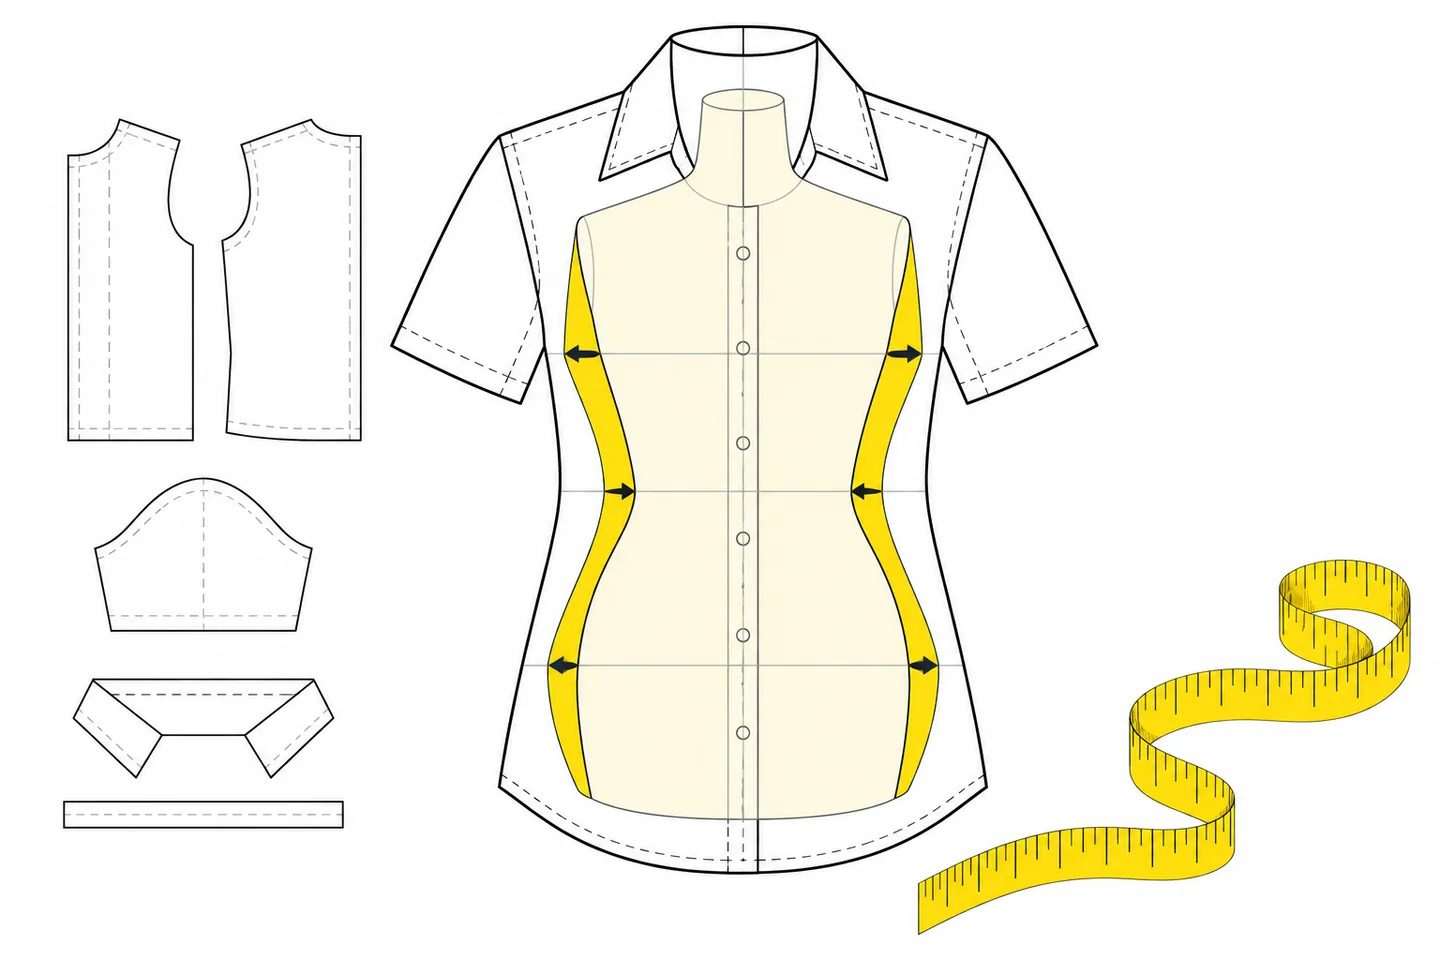
A pattern size can match your bust, waist and hips while the sewn garment still feels unexpectedly roomy. The two charts answer different questions. Body measurements describe the person a size is drafted for; finished measurements describe the garment after sewing. Read both before cutting so you can judge the intended fit rather than relying on the size label alone.
Measure for the garment you are making
Take fresh measurements before each project. Wear the undergarments or close-fitting clothes you expect beneath the garment, stand naturally and breathe normally. Keep a flexible tape snug but not tight, and check in a mirror or ask someone to help if the tape slips out of level. Record the unit beside each figure. Seamwork’s body-measurement demonstration explains the basic method and why ready-to-wear sizing cannot stand in for a pattern’s own chart.
For most garments, start with the full bust, natural waist and full hip. Measure each at the point named by the pattern: the natural waist is not necessarily where you wear a trouser waistband. If the garment sits at a raised or dropped waist, measure there as well. A comparison is useful only when the body and garment figures refer to the same level.
Add measurements that could affect the fit decision. For a sleeved top, check shoulder width and upper-arm circumference; for trousers, consider thigh, rise and inseam. A fitted bodice may also need a vertical measurement to locate its waist or bust shaping. These checks reveal issues that three circumferences cannot.
Use the body chart to find a starting size
Find the body chart for the particular pattern and size range, then mark the size indicated by each relevant measurement. It is common for bust, waist and hip to fall in different columns. Keep those differences visible: one size label need not fit every part of your body. Follow any size-selection guidance supplied with the pattern, then inspect the finished figures at the points where your measurements differ.
Where your measurements cross sizes, decide which part of the garment has the least room to spare. A fitted shoulder or upper bodice may be harder to ignore than extra width at a flared hem. You can compare the relevant finished dimensions for both sizes and, if the pattern allows it, grade between their cutting lines. Check that the change joins smoothly and does not disturb a dart, pocket or closure. A test garment is useful when the transition crosses a fitted area.
The finished chart lists garment dimensions, often at bust, waist, hip and length. Confirm that it applies to the version you plan to sew, and read where each measurement is taken. A long tunic and a cropped top can have quite different hip figures even when they share a body chart. Seamwork’s guide to pattern charts identifies the body chart as the size-selection reference and the finished chart as the garment’s dimensions.
Write three figures beside each priority point: your measurement, the pattern’s body-chart measurement and its finished measurement. Finished minus chart body measurement gives the total ease built into that size. Finished minus your own measurement gives the room that size would provide on you, if sewn as specified. Those results differ when you fall between the chart’s figures. Calculate them separately at bust, waist and hip; a garment can be close in one place and loose in another.
Understand what the difference means
Ease is the difference between garment and body dimensions at the same point. Wearing ease allows movement; design ease creates a silhouette. The subtraction gives total ease, but it does not tell you how much is for movement and how much is for style. The Sewing & Craft Alliance distinguishes wearing ease from design ease when explaining pattern measurements.
Use the line drawing and fit description alongside the numbers. A dropped shoulder, gathered panel or flared hem changes where fullness sits. A generous bust circumference does not reveal whether the extra fabric will be at the front, back or side. Check length from its stated reference point too: a garment can have enough width yet put its waist seam at the wrong height.
Stretch fabrics require a different reading. A close-fitting knit may have a finished circumference smaller than the body circumference; this is negative ease. Seamwork’s explanation of ease shows the calculation and its use for knit garments. Check the recommended fabric and required stretch before comparing a negative figure with the positive ease of a woven shirt.
If you have a garment with a similar fabric and shape that fits as you like, measure it at the same point. Lay it flat without stretching it and, where appropriate, double the width to obtain a circumference. This gives you a concrete reference for the finished chart. Treat it as a guide: fabric, construction and wear can alter the comparison.
Work through a size decision
Suppose your bust is 38 inches, waist 32 inches and hip 40 inches. A woven, straight-cut shirt pattern places all three in size 12. Its finished size 12 measures 46 inches at the bust, 38 at the waist and 46 at the hip. These figures are illustrative, not taken from a published pattern. Subtracting your body measurements gives eight inches of room at the bust and six inches at both waist and hip. The body chart led you to the expected starting size, but the finished chart reveals a roomy shirt.
If that is the shape you want, keep size 12 under consideration. If you prefer a closer shirt, check the adjacent size’s finished dimensions rather than choosing it by label. Suppose its bust is 44 inches: that still leaves six inches over your bust. Also compare shoulder, upper arm, neckline, waist and hip. Going down a size changes all of them; a narrower shirt body can come with a sleeve that restricts movement.
Look at the drawing before deciding. A wide body and dropped shoulder may be central to the design, and reducing both could change its intended shape. If the fit remains uncertain, make a test garment. Its purpose is to answer specific questions, such as whether the sleeve allows you to reach forward or whether the shirt clears the hip when you sit.
Check missing dimensions on the pattern pieces
When the finished chart omits a measurement you need, measure the relevant pattern pieces along their stitching lines. Include every front, back and side piece contributing to the full circumference. Exclude seam allowances and fullness removed by darts, tucks or pleats. Threads describes this seamline-based method for assessing a pattern’s fit; measuring cut edges would overstate the finished size.
Focus first on points that might change your size choice or make the garment uncomfortable. For a shirt, those may be bust, shoulder and upper arm; for trousers, waist, hip, rise and thigh. Compare vertical positions as well as widths. Extra room at the bust will not correct a dart that ends in the wrong place, and a generous trouser hip will not fix a rise that feels too short.
For a test garment, mark seamlines and key levels, then sew enough to assess the uncertain areas. Try it on with the expected underlayers and move as you would when wearing it. Note pulling, pooling and where seams land. Transfer any changes to the pattern before cutting the final fabric.
After an alteration, revisit the figures that led to it. Taking width from a side seam changes the finished circumference; shortening a bodice changes where its waist shaping lands. Measure the revised seamlines again if the adjustment is substantial, and compare them with the body measurements at the matching levels. This keeps the size decision tied to the garment you will actually sew, rather than to a chart that described it before alteration.