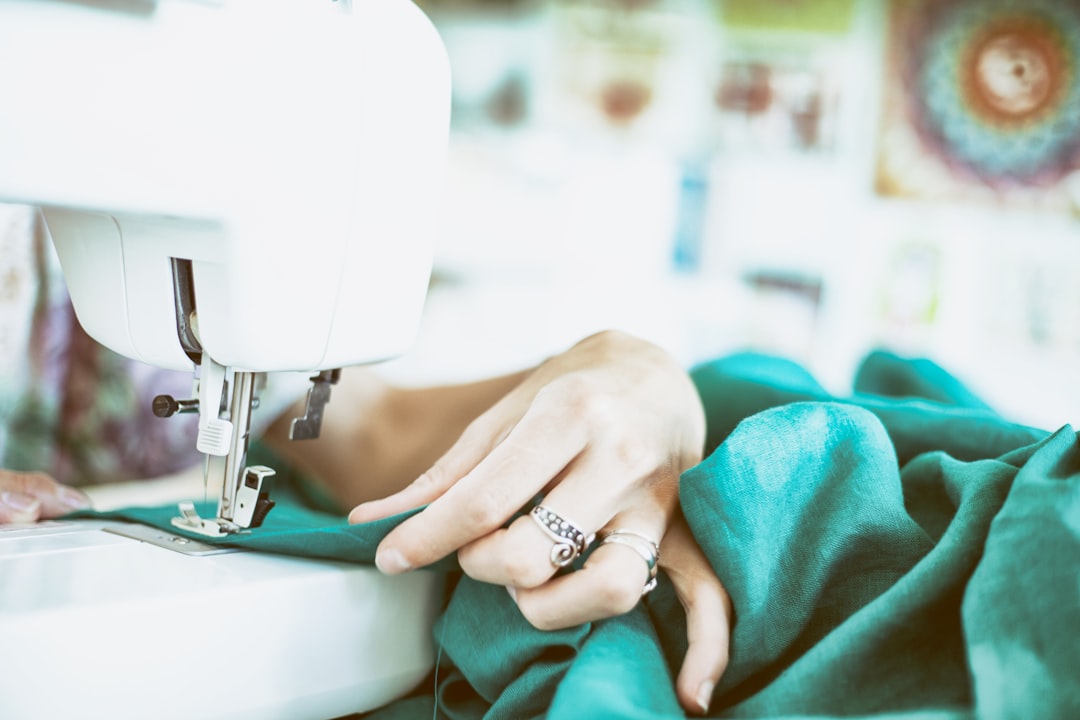
Understitching is a technique that is often overlooked in sewing projects, but it plays a crucial role in achieving a professional finish. It involves stitching the seam allowances to the facing or lining of a garment, preventing them from rolling out and improving the overall drape of the fabric. While understitching may seem complex and time-consuming, mastering this technique can elevate the quality of your sewing projects and give them a polished look.
Key Takeaways
- Understitching is a sewing technique used to secure facings and linings to the main fabric.
- It is important because it prevents the facing or lining from rolling out and showing on the right side of the garment.
- Essential tools and materials for understitching include a sewing machine, thread, scissors, and a pressing iron.
- To prepare your fabric for understitching, press the seam allowance towards the facing or lining and trim any excess fabric.
- Mastering the technique of understitching involves sewing close to the seam line, pivoting at corners, and pressing the seam flat.
What is Understitching and Why is it Important?
Understitching is a sewing technique used to secure the seam allowances to the facing or lining of a garment. Its purpose is to prevent the seam allowances from rolling out and becoming visible on the right side of the fabric. This technique is especially important for lightweight and drapey fabrics, as it helps to maintain the shape and structure of the garment.
It’s important to note that understitching differs from topstitching and edge-stitching. Topstitching is done on the right side of the fabric, usually for decorative purposes or to reinforce seams. Edge-stitching, on the other hand, is done along the edge of a seam or hem to keep it flat and neat. Understitching, however, is done on the wrong side of the fabric and is not visible from the outside.
The Benefits of Understitching for a Professional Finish
There are several benefits to understitching that contribute to achieving a professional finish in sewing projects. Firstly, understitching helps to prevent seam allowances from rolling out and becoming visible on the right side of the fabric. This is particularly important for garments with facings or linings, as it ensures that the inner construction remains hidden.
Secondly, understitching improves the drape of the garment by securing the seam allowances to the facing or lining. This helps to maintain the shape and structure of the fabric, giving it a more polished and professional look. It also helps to prevent the fabric from bunching or puckering, especially in areas such as necklines and armholes.
Lastly, understitching can elevate the overall look of a garment. By securing the seam allowances and improving the drape of the fabric, understitching creates a clean and neat finish. This attention to detail can make a significant difference in the overall appearance of the garment, giving it a more professional and high-quality look.
Essential Tools and Materials for Understitching
| Tool/Material | Description |
|---|---|
| Understitching Foot | A specialized sewing machine foot that helps to keep the fabric layers flat and in place while understitching. |
| Sharp Scissors | Used to trim seam allowances and threads after understitching. |
| Seam Ripper | Used to remove any stitching mistakes or unwanted stitches. |
| Iron and Ironing Board | Used to press the fabric and seam allowances flat after understitching. |
| Thread | Used to sew the understitching and any necessary repairs. |
| Marking Tool | Used to mark the stitching line and any necessary notches or markings. |
| Quality Fabric | Essential for achieving a professional-looking understitching finish. |
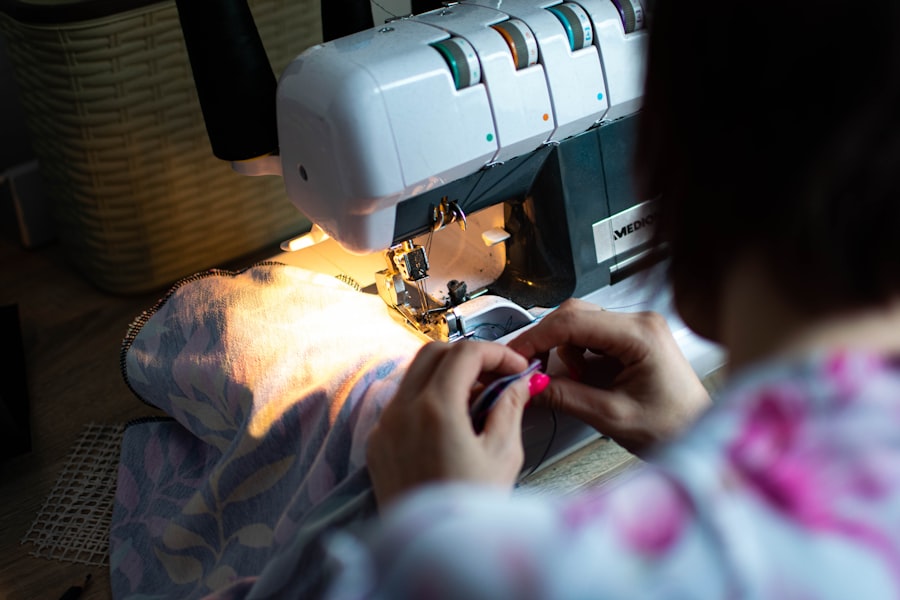
To successfully understitch your garments, you will need a few essential tools and materials. Firstly, you will need a sewing machine with a straight stitch setting. A sewing machine with adjustable stitch length is also helpful, as it allows you to customize the length of your stitches based on the fabric you are working with.
You will also need thread that matches your fabric, as well as a pressing tool such as an iron or a pressing ham. Pressing is an important step in understitching, as it helps to set the stitches and create a clean finish. Additionally, having a good pair of scissors or rotary cutter for trimming excess fabric is essential for achieving accurate understitching.
It’s important to use the right needle and thread for the fabric you are working with. For lightweight fabrics such as silk or chiffon, use a fine needle and lightweight thread. For heavier fabrics such as denim or wool, use a heavier needle and thread. Using the appropriate needle and thread will ensure that your stitches are secure and that they do not cause any damage to the fabric.
How to Prepare Your Fabric for Understitching
Before you begin understitching, it’s important to prepare your fabric properly. Start by pressing the seam allowances towards the facing or lining using an iron or pressing ham. This will help to create a clean edge and make it easier to stitch the seam allowances in place.
Next, trim any excess fabric from the seam allowances. This will help to reduce bulk and ensure that the understitching lies flat against the fabric. Be careful not to trim too close to the stitching line, as this can weaken the seam.
Accuracy is key when preparing your fabric for understitching. Take your time to press and trim the seam allowances carefully, as any unevenness or excess fabric can affect the final result. Pay attention to details such as corners and curves, as these areas may require additional trimming or pressing to achieve a clean finish.
Mastering the Technique of Understitching: Step-by-Step Guide
Now that your fabric is prepared, it’s time to master the technique of understitching. Follow these step-by-step instructions to achieve successful understitching:
1. Set up your sewing machine with a straight stitch setting and thread it with matching thread.
2. Fold back the facing or lining so that it is out of the way, exposing the seam allowances.
3. Starting at one end of the seam, position your fabric under the presser foot with the right side facing up.
4. Stitch along the edge of the facing or lining, securing the seam allowances in place. Be sure to stitch through all layers of fabric.
5. Use a stitch length that is appropriate for your fabric. For lightweight fabrics, a shorter stitch length may be necessary to ensure that the stitches are secure.
6. Stitch slowly and carefully, guiding the fabric under the presser foot with your hands.
7. Continue stitching along the entire length of the seam, making sure to keep your stitches parallel and evenly spaced.
8. When you reach the end of the seam, backstitch a few stitches to secure the thread.
9. Press the understitched seam allowances using an iron or pressing ham to set the stitches and create a clean finish.
It’s important to note that the direction of your stitches will depend on the design of your garment. In most cases, you will stitch towards the facing or lining, but there may be instances where you need to stitch away from the facing or lining. Follow the instructions provided in your sewing pattern or adjust your stitching direction based on the design of your garment.
Tips and Tricks for Perfecting Your Understitching

While understitching may seem daunting at first, there are several tips and tricks that can help you achieve a flawless result. Here are some additional tips for perfecting your understitching:
1. Use a walking foot: A walking foot can help to feed the fabric evenly through the sewing machine, preventing any stretching or distortion of the fabric. This is especially helpful when working with slippery or stretchy fabrics.
2. Test on scrap fabric: Before understitching your garment, it’s a good idea to test the technique on a scrap piece of fabric. This will allow you to adjust your stitch length and direction if needed, and ensure that you are comfortable with the technique before applying it to your project.
3. Experiment with different techniques: There is no one-size-fits-all approach to understitching, so don’t be afraid to experiment with different techniques to find what works best for you. Try using different stitch lengths, directions, and even thread colors to achieve different effects.
4. Take your time: Understitching requires precision and attention to detail, so take your time and work slowly and carefully. Rushing through the process can lead to mistakes and uneven stitching.
5. Practice, practice, practice: Like any sewing technique, mastering understitching takes practice. Don’t be discouraged if your first few attempts are not perfect – keep practicing and experimenting until you achieve the desired result.
Common Mistakes to Avoid When Understitching
While understitching can elevate the quality of your sewing projects, there are some common mistakes that can occur. Here are a few mistakes to avoid when understitching:
1. Skipping stitches: Skipping stitches can weaken the seam and cause the fabric to fray. Make sure to stitch through all layers of fabric and check your stitches regularly to ensure that they are secure.
2. Not pressing properly: Pressing is an important step in understitching, as it helps to set the stitches and create a clean finish. Make sure to press the seam allowances towards the facing or lining before understitching, and press again after stitching to set the stitches.
3. Uneven stitching: Uneven stitching can affect the overall appearance of your garment. Take your time and work slowly and carefully to ensure that your stitches are parallel and evenly spaced.
4. Using the wrong needle and thread: Using the wrong needle and thread for your fabric can result in skipped stitches or damage to the fabric. Make sure to use the appropriate needle and thread for the fabric you are working with.
5. Not testing on scrap fabric: It’s always a good idea to test the understitching technique on a scrap piece of fabric before applying it to your project. This will allow you to adjust your stitch length and direction if needed, and ensure that you are comfortable with the technique before proceeding.
How to Use Understitching in Different Sewing Projects
Understitching can be used in a variety of sewing projects to achieve a professional finish. Here are some examples of how understitching can be incorporated into different designs:
1. Dresses: Understitching is particularly important in dresses with facings or linings, as it helps to maintain the shape and structure of the garment. It can be used along necklines, armholes, and waistlines to prevent seam allowances from rolling out and becoming visible.
2. Blouses: Understitching can be used in blouses to secure the seam allowances of facings or linings, giving them a clean and polished finish. It can also be used along cuffs and collars to prevent them from rolling out and creating a messy appearance.
3. Jackets: Jackets often have facings or linings that require understitching to maintain their shape and structure. Understitching can be used along lapels, collars, and cuffs to create a clean and professional finish.
4. Skirts: Understitching can be used in skirts with facings or linings to prevent seam allowances from rolling out and becoming visible. It can also be used along waistbands to secure the seam allowances and create a neat finish.
Advanced Understitching Techniques for Challenging Fabrics
While understitching is generally straightforward, there are some advanced techniques that can be used for challenging fabrics. For example, when working with stretchy fabrics, using a bias strip as a facing can help to stabilize the fabric and prevent it from stretching out. Similarly, when working with slippery fabrics, applying interfacing to the facing can provide additional stability and prevent the fabric from shifting during understitching.
It’s important to experiment with different techniques and materials to find what works best for the fabric you are working with. Don’t be afraid to try new approaches and techniques, as this will help you expand your sewing skills and achieve successful understitching in challenging situations.
Taking Your Sewing to the Next Level with Understitching Mastery
Mastering the technique of understitching is an important step in taking your sewing skills to the next level. By achieving a professional finish in your sewing projects, you can elevate the quality of your garments and create pieces that look polished and well-made.
Continued practice and experimentation are key to improving your understitching skills. Take the time to practice the technique on different fabrics and projects, and don’t be afraid to try new approaches and techniques. With time and experience, you will become more confident in your understitching abilities and be able to achieve flawless results in your sewing projects.
Understitching is a valuable technique in garment construction that can elevate the quality of your sewing projects. By securing the seam allowances to the facing or lining, understitching prevents them from rolling out and improves the overall drape of the fabric. With the right tools, materials, and techniques, you can achieve a professional finish in your sewing projects and create garments that look polished and well-made.
Take the time to practice and experiment with understitching, and don’t be discouraged if your first few attempts are not perfect. With continued practice and attention to detail, you will improve your understitching skills and be able to achieve flawless results in your sewing projects. So go ahead, give understitching a try in your next sewing project, and share your results with others. Happy sewing!
If you’re interested in learning more about understitching, you might find this article on measurements from Structured Solutions helpful. Understanding proper measurements is crucial for achieving a well-fitted garment, and this article provides valuable insights and tips. Check it out here. Additionally, if you’re looking to enhance your organization skills in the world of sewing, Structured Solutions offers a comprehensive guide on the organization journey. Discover how to streamline your sewing space and optimize your workflow by visiting this link. Lastly, if you have any questions or need further assistance, don’t hesitate to reach out to the team at Structured Solutions. They are always ready to help and provide guidance. Drop them a message here.
FAQs
What is understitching?
Understitching is a sewing technique used to keep the facing or lining of a garment from rolling to the outside. It involves sewing the facing or lining to the seam allowance of the garment.
When is understitching used?
Understitching is used when sewing garments with facings or linings, such as dresses, blouses, and jackets. It is particularly useful for curved or shaped seams, as it helps to maintain the shape of the garment.
How is understitching done?
To understitch, the facing or lining is first sewn to the garment right sides together. Then, the seam allowance is pressed towards the facing or lining and understitched close to the seam line. The understitching is done on the facing or lining side of the seam, and the garment is turned right side out.
What are the benefits of understitching?
Understitching helps to keep the facing or lining of a garment in place, preventing it from rolling to the outside. This creates a neater and more professional finish to the garment. It also helps to maintain the shape of the garment, particularly around curved or shaped seams.
Can understitching be done by hand?
Yes, understitching can be done by hand, but it is more commonly done by machine. Machine understitching is faster and more efficient, and produces a neater finish. However, hand understitching may be necessary for certain fabrics or areas of the garment that are difficult to sew with a machine.