
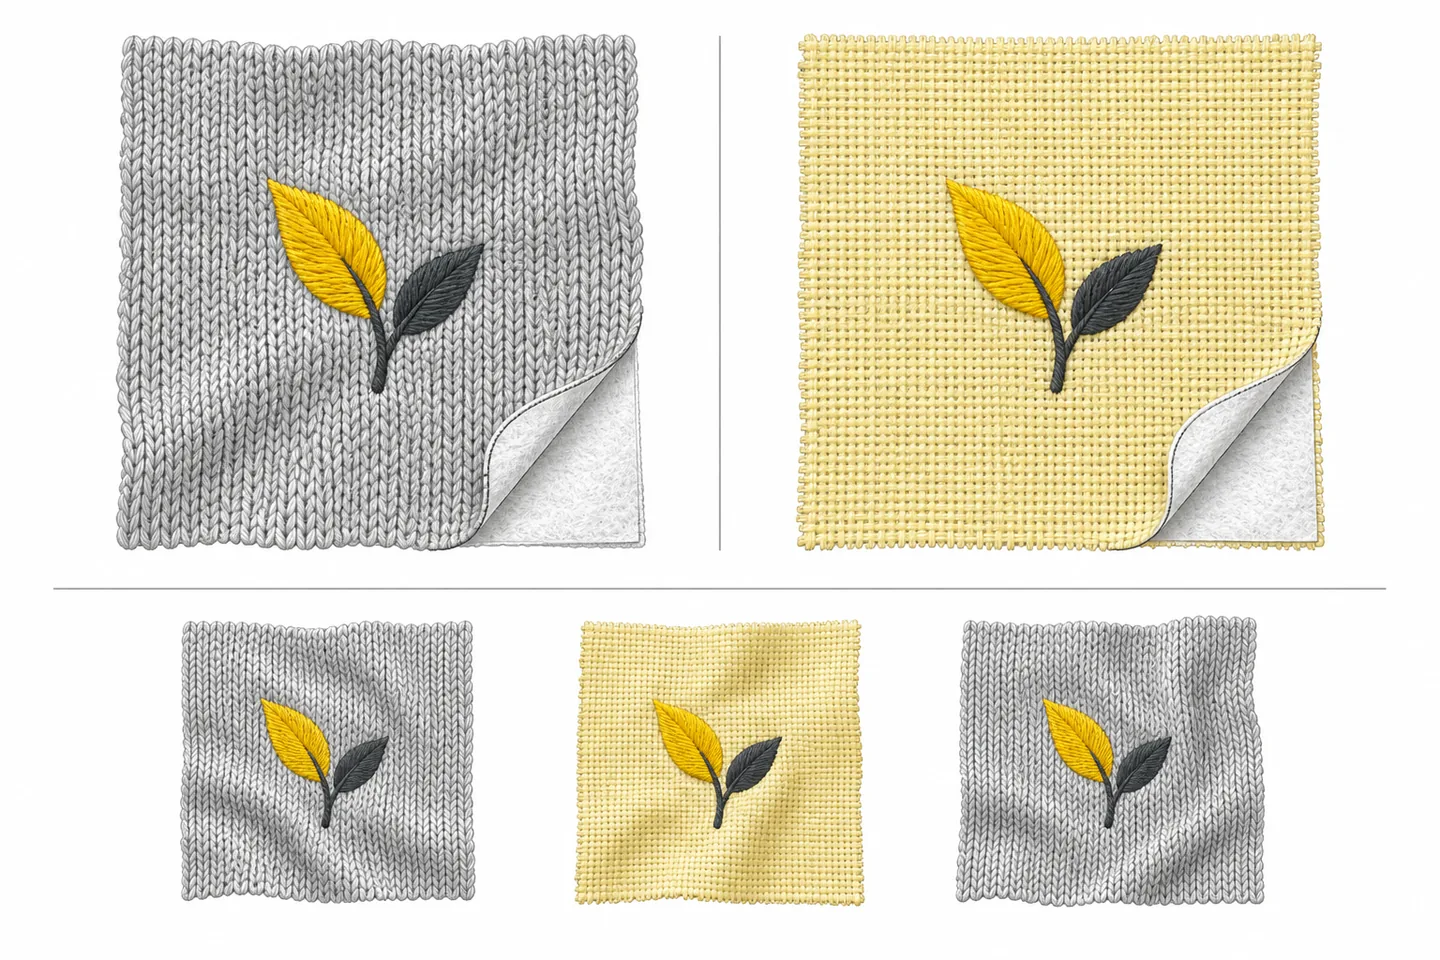
Backing supports fabric while the machine forms each stitch. The fabric, design and backing must also work together after excess stabilizer is removed and the finished piece is washed. A soft T-shirt and a firm cotton woven may carry the same motif, yet respond differently to hooping, dense stitching and wear. Start with the fabric’s stretch and the design’s density, then test that combination on a swatch.
What each backing leaves behind
Cut-away stays behind the embroidery. After stitching, the excess is trimmed around the design, while the portion under the stitches continues to support them. This makes it a sound starting point for knits and other stretchy fabrics. The trade-off is a remaining patch that can change the garment’s drape or feel against the skin. A lighter, softer cut-away may suit a fine jersey better than a firm, heavy one.
Tear-away provides support during stitching, then allows most of the excess to be removed. It is a useful starting point for stable woven fabrics, especially when the reverse should remain relatively clean. Remove it while supporting the embroidery with your fingers: pulling sharply can disturb the stitches. Some material may remain trapped beneath the design, so tear-away does not leave a completely bare back.
Wash-away is removed with water. It is useful when backing must not remain visible, provided the fabric and finished project can be washed. It may also serve as a temporary aid in particular knit applications. It should not be treated as an automatic substitute for lasting support under a dense design on a stretchy garment. These distinctions follow BERNINA’s guide to stabilizer selection and removal, which also identifies fabric, design, appearance, hand and test results as separate factors.
A water-soluble topper has a different job from a backing. Placed above a textured fabric, a topper helps keep stitches visible on the surface; it does not provide the same foundation beneath the fabric. Check which side of the work a product is intended to support before adding it to a test.
Start with stretch, then check the design
A woven fabric is not automatically rigid, and a knit is not uniformly stretchy. Handle the actual piece. Does it stretch across the embroidery area and spring back when released? Does its surface shift easily? A firm woven with an open design presents a different task from loose jersey carrying a broad block of fill stitches. A motif on a fitted chest panel must move with the wearer; one on a roomy bag panel may rarely be stretched.
For a stable woven, test tear-away first if you want to remove most of the backing. Move to a backing that gives more support if the stitched area ripples or the design loses its shape. Cut-away is not reserved exclusively for knits; it can also be tested on a woven when continued support is useful. For a knit, begin with a suitable cut-away and assess whether its weight supports the design without making the garment feel board-like. Brother’s fabric and stabilizer comparison treats its “optional or none” entries as starting guidance: backing may still improve the embroidery result.
Density changes the decision. A small motif packed with closely spaced stitches asks more of its backing than an open outline of similar size. Look at the filled areas, repeated stitch layers and narrow details, not just the design’s dimensions or total stitch count. If a lightweight fabric cannot carry the chosen design gracefully, a heavier backing may stop visible distortion but leave an unpleasantly stiff patch. Testing a less dense version of the design may solve the underlying mismatch more effectively.
Make a swatch that answers the real question
Use a spare piece of the garment fabric, ideally from the same cut or an equivalent remnant. Prepare it as the finished garment will be prepared: account for any planned prewashing, use the intended thread and needle, and stitch the actual design at its final size. Include enough fabric around the motif to judge its drape and stretch. A tiny square held taut between the fingers cannot show how an embroidered panel will hang.
Change only the backing in the first pair of swatches; keep the fabric, design, hooping method and machine settings steady. On a knit, compare a soft cut-away with a firmer one. On a stable woven, compare two tear-away weights, or tear-away with cut-away if the design needs continuing support. Add wash-away only when temporary support and the fabric’s care requirements make it a plausible choice.
Hoop each sample securely without stretching the fabric out of shape. If the knit is pulled tight in the hoop, it may contract around the stitches when released, making a reasonable backing appear to have failed. Keep the backing flat against the fabric and check that neither layer creeps during stitching. Record a handling problem separately from a backing problem; otherwise, changing stabilizers can hide the real cause.
Record three outcomes, not one winner
Inspect each sample after stitching, after removing excess backing, and after washing and drying it according to the fabric’s care instructions. Record:
- Puckering: Ripples around the motif, raised edges or distortion within filled areas.
- Stretch recovery: Whether the embroidered area stretches as needed and returns without persistent waves.
- Garment hand: Drape, stiffness, visible backing and how the reverse feels against skin.
Note the backing type and weight beside each result. Give each swatch a plain description—“flat after washing, slight stiffness at the edge” is more useful than “good.” If a cut-away produces a clean front but its edge feels rough against skin, that matters. If a tear-away leaves a soft back but the knit puckers after washing, that matters too. The aim is to choose the combination that serves this fabric and design, rather than declare one backing universally best.
BERNINA recommends test stitching because fabrics and designs vary even within familiar categories. Its guidance also points out that backing weight affects drape and a cut-away edge remains on the garment. Judge the washed sample from both sides, rather than deciding from the stitched front alone.
Where wash-away fits
Wash-away backing has a clear advantage when the finished work should have no permanent backing and the item can tolerate rinsing. It can also hold a particularly stretchy knit steady for a limited task. In a Seamwork tutorial on knit appliqué, water-soluble stabilizer is presented as an optional layer beneath an especially stretchy garment during appliqué placement, then removed by washing. That is a useful example of temporary support, but appliqué attachment and a dense machine-embroidered motif do not put identical demands on the fabric.
If you test wash-away beneath embroidery on a knit, judge the sample after it has dissolved. The design may look crisp while the backing is present and change once that support is gone. Where the embroidery must retain its shape through repeated stretching, a cut-away swatch gives you a comparison with support that remains. If the garment cannot be washed as required to remove the product, choose another approach.
Choose from the finished swatch
Lay dry samples flat without smoothing away every ripple. Let them hang, then gently stretch them in the direction the garment will move. Select the backing that gives adequate support with acceptable stretch, drape and comfort. If none does, reconsider the design’s size or density before stitching the garment.